
Trusted by 155+ Homeowners
Water-damaged Photos: How To Save Them Yourself
- Over 157 5-Star Reviews
- Free Estimates and Quotes
- 100% Satisfaction Guaranteed
- Child, Family & Pet Safe Steps
- 24-Hour Emergency Service
- Fully Licensed & Insured
You can save water-damaged photos by acting quickly and handling them gently.
Immediate steps involve separating photos, freezing them if wet, and air-drying them carefully.
TL;DR:
- Separate wet photos immediately.
- Freeze wet photos to prevent mold if you can’t dry them right away.
- Air-dry photos by standing them up or using fans, avoiding direct heat.
- For heavily damaged or valuable photos, professional restoration is best.
- Document all damage for potential insurance claims.
Water-Damaged Photos: How to Save Them Yourself
Discovering water-damaged photos can be heartbreaking. These memories hold immense sentimental value. Thankfully, there are steps you can take to salvage them yourself. Early action is key to minimizing further damage and preserving these precious items.
Assess the Damage and Act Fast
The first thing to do is assess the extent of the water damage. Is it just a small spill, or was the entire area flooded? Understanding the situation helps you decide on the best course of action. Remember, water intrusion risks can escalate quickly, especially with prolonged exposure.
Different Types of Water Damage
The source of the water matters. Was it clean tap water, or contaminated floodwater? This impacts how you handle the photos. Clean water damage is easier to manage than damage from storm water or sewage. Understanding flash floods vs slow floods: how they damage homes can give you additional context here.
Immediate Steps for Wet Photos
If your photos are wet, you need to act immediately. The longer they stay wet, the higher the risk of mold growth and ink running. You’ll want to separate wet photos carefully from dry ones and from each other.
Handling Soaked Photos
Do not try to pull apart photos that are stuck together. Doing so can tear them. Instead, place them in a plastic bag or container. Keep them separated as much as possible without causing further damage. This is where interior water damage can become a bigger problem if not addressed.
The Freezing Method: A Lifesaver
If you have too many wet photos to handle right away, or if you can’t dry them immediately, freezing is your best bet. Research shows that freezing photos stops mold growth and prevents further deterioration. Place the wet photos in freezer bags, removing as much air as possible. Label them with the date.
Why Freezing Works
Freezing essentially puts the photos in suspended animation. It halts the breakdown process caused by moisture and enzymes. This gives you time to deal with them later, at your own pace. It’s a crucial step when you’re facing overwhelming interior water damage and need to buy time.
Drying Wet Photos: Step-by-Step
Once you are ready to dry your photos, patience is key. You want to avoid any actions that could cause further harm. Gentle handling is paramount throughout this process.
Air-Drying Techniques
You can air-dry photos by standing them up on their edges. Use a clean, lint-free cloth or paper towel to gently blot excess water. Place them in a well-ventilated area. A fan can help speed up the process, but avoid using direct heat. This includes hairdryers or placing them near radiators.
Separating Frozen Photos
When you take photos out of the freezer, let them thaw slightly. Once they are pliable but not fully wet, you can often separate them. If they are still stuck, don’t force them. You can try placing them on a flat surface and letting them air dry completely.
Dealing with Dry but Damp Photos
Photos that are only slightly damp can often be dried by simply laying them flat. Place them on clean paper towels or a drying rack. Again, ensure good air circulation. Monitor them closely for any signs of mold. This is similar to when you consider when can you handle water damage yourself; some issues are manageable, others require professional help.
What About Photos Stuck Together?
If photos are stuck together, it’s tricky. For less valuable photos, you might try gently separating them. For valuable or irreplaceable images, it’s often better to leave them intact. Trying to force them apart can cause irreparable damage.
Professional Help for Stuck Photos
Many professional photo restoration services can handle this. They have specialized techniques and equipment to separate adhered photos without causing further harm. This is a good option if the photos are particularly sentimental or financially valuable.
Preventing Mold and Mildew
Mold is a major concern with water-damaged items. It can spread rapidly in damp conditions. Ensure that any area where you are drying photos is well-ventilated. Keep humidity levels as low as possible. Watch for any musty odors, which can indicate mold growth.
Contaminated Water Risks
If the water damage involved contaminated water (like from a flood or sewage backup), the photos may also be contaminated. In such cases, it’s often best to discard them unless they are extremely valuable. Handling contaminated items poses serious health risks.
Digitizing Your Photos
Once your photos are dry, consider digitizing them. Scanning them creates digital backups. This ensures that even if the physical photo deteriorates further, the image is preserved. Use a high-quality scanner for the best results. Create multiple digital copies and store them in different locations.
Scanning Tips for Best Quality
Scan photos at a high resolution (at least 600 dpi). Save them in a lossless format like TIFF if possible, or high-quality JPEG. This preserves the most detail. You can then use photo editing software to make minor corrections.
When to Call the Professionals
While DIY methods can save many photos, there are times when professional help is necessary. If the damage is extensive, or if the photos are extremely valuable, consider professional restoration. Professionals have specialized knowledge and tools. They can handle delicate materials and complex damage. They know when pros are needed and how to manage them effectively.
Recognizing DIY Limitations
Sometimes, the desire to save money or time leads to trying to handle too much yourself. However, DIY limitations can lead to irreversible damage. If you’re unsure, it’s always better to err on the side of caution and seek expert advice today.
| Damage Type | DIY Approach | Professional Recommendation |
|---|---|---|
| Slightly Damp Photos | Air dry, blot gently. | Scan immediately for digital backup. |
| Soaked Photos (Clean Water) | Freeze if immediate drying isn’t possible. Air dry carefully. | Professional cleaning and drying. |
| Photos Stuck Together | Attempt separation only if low value. | Always for valuable or sentimental photos. |
| Contaminated Water Damage | Discard unless extremely valuable. | Professional assessment for potential salvage and sanitization. |
Checklist for Saving Water-Damaged Photos
Use this quick checklist to guide your efforts:
- Assess the damage immediately.
- Separate wet photos carefully.
- Freeze wet photos if you can’t dry them now.
- Air dry photos using fans, no direct heat.
- Scan all salvaged photos for digital backup.
- Consider professional help for valuable items.
Conclusion
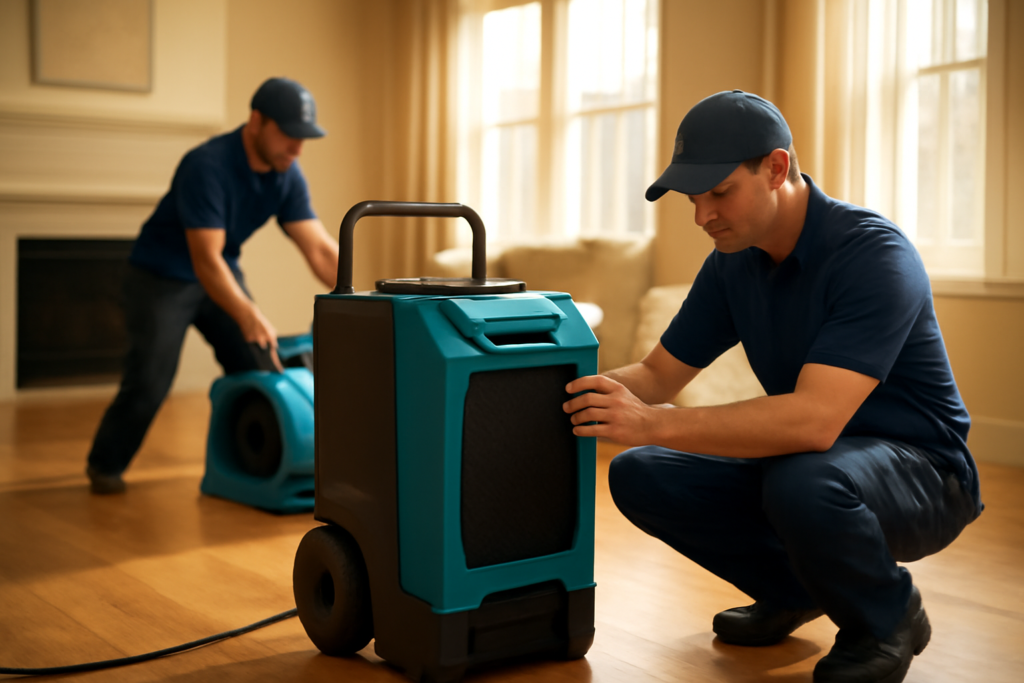
Saving water-damaged photos can be a challenging but rewarding process. By acting quickly and using the right techniques, you can preserve precious memories. Remember to handle each photo with care and consider the risks of mold and further deterioration. For extensive water damage or particularly valuable items, professional restoration services are available. If you’re dealing with significant water damage in your home, the team at Eden Prairie Restoration Pros can help address the source and mitigate further loss, giving you a better chance to save your belongings.
What if my photos are very old?
Older photos, especially those printed on delicate materials or with fading inks, require extra care. You may need to use distilled water for rinsing if they are very dirty and cannot be separated. Always test a small, inconspicuous area first. For antique photos, professional restoration is highly recommended.
Can I use a microwave to dry photos?
Absolutely not. Never use a microwave to dry photos. Microwaves can cause uneven heating, potentially scorching or even igniting the photos. They are also not designed for drying delicate paper items and can cause irreversible damage.
How long does it take for mold to grow on wet photos?
Mold can begin to grow on wet paper products within 24 to 48 hours, especially in warm, humid conditions. This is why acting quickly is critical. If you can’t dry them immediately, freezing them is the best way to prevent mold growth.
What is the best way to store salvaged photos?
Once dry and digitized, store your photos in a cool, dry, dark place. Use acid-free storage materials like archival boxes or albums. Avoid storing them in attics or basements, which often have fluctuating temperatures and humidity. Proper storage prevents future damage.
Should I try to clean the photos with household cleaners?
It’s generally not advisable to use household cleaners on water-damaged photos. Many cleaners can damage the emulsion, ink, or paper. For light cleaning of dry photos, a very soft brush might be used. For any actual cleaning of wet or stained photos, professional expertise is usually required.

Levi Lemieux is a licensed Damage Restoration Expert with more than 20 years of hands-on experience in disaster recovery and structural mitigation. As a seasoned industry authority, Levi has dedicated two decades to mastering the technical complexities of environmental safety, providing property owners with the reliable expertise and steady leadership required to navigate high-stress property losses with absolute confidence.
𝗖𝗲𝗿𝘁𝗶𝗳𝗶𝗰𝗮𝘁𝗶𝗼𝗻𝘀: Levi holds elite IICRC credentials, including Water Damage Restoration (WRT), Applied Structural Drying (ASD), Mold Remediation (AMRT), Fire and Smoke Restoration (FSRT), and Odor Control (OCT).
𝗙𝗮𝘃𝗼𝗿𝗶𝘁𝗲 𝗣𝗮𝘀𝘁𝗶𝗺𝗲: When off-site, Levi is a passionate mountain biker and an amateur astronomer, hobbies that reflect the endurance and precision he brings to every restoration project.
𝗕𝗲𝘀𝘁 𝗣𝗮𝗿𝘁 𝗼𝗳 𝘁𝗵𝗲 𝗷𝗼𝗯: He finds the most fulfillment in providing a clear path forward for families, turning a site of devastation back into a safe, comfortable home.